Joomla template Quickstart installation with Joomla! 1.5
In all projects created by GavickPro, we always provide complete and swift installation version – the Quickstart, equal to the one presented in our demo page template.
The whole process is very easy to run, treating it like a normal installation of Joomla!1.5 environment, already containing all the extensions used in the project, their respective settings, content, positioning of modules and menus assignment, exactly how you can enjoy on our demo.
In some cases, we include extensions from other companies that have trading rights. If so, this files will not be included and you will need to purchase this extensions directly on their owners store.
In this article, we exemplify how to perform the default Quickstart installation by performing these easy steps.
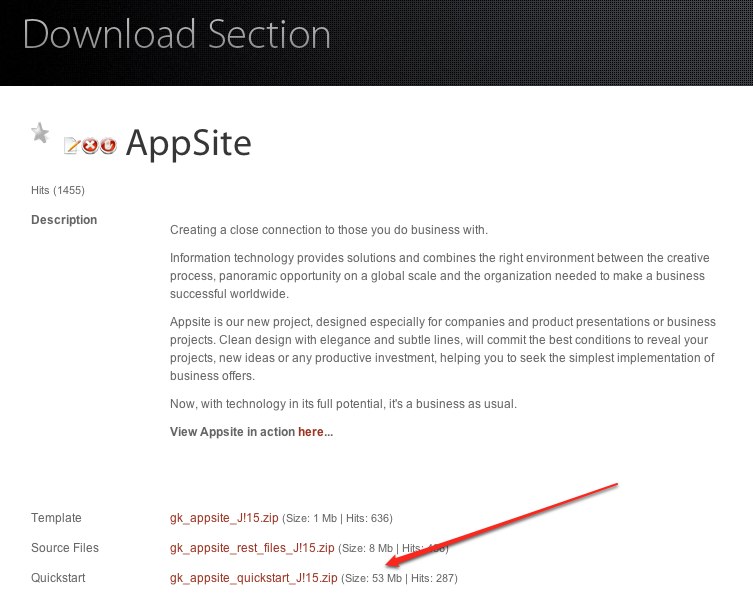
Get quickstart files
Get the files we provide on our exclusive Membership download section and save it on any location on your computer.
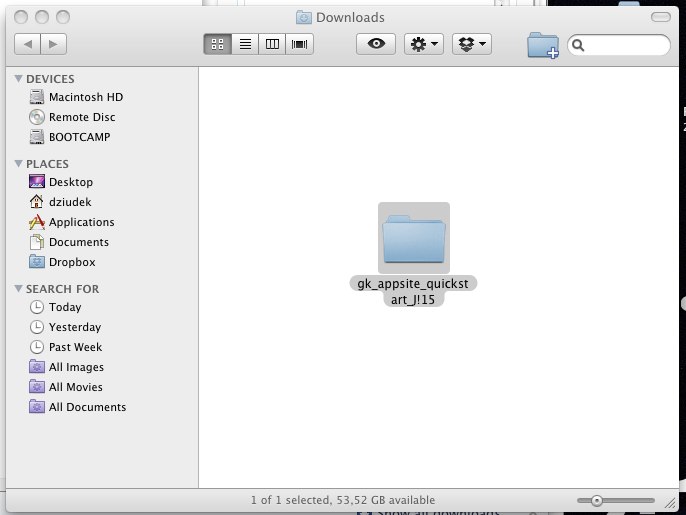
The next step is extracting the file locally identified as quickstart. After the extraction is done, it will contain within all files needed to perform this type of installation.
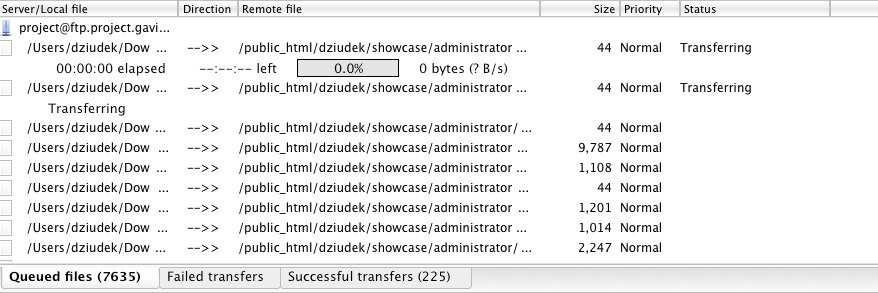
Export Files by FTP
Through your FTP software, export all the files into the directory of your website, where you want to install your new Joomla! project. Depending on upload speed of your connection or from your server configuration, this process might take several minutes.
If you don’t have any FTP software, we recommend FileZilla – a powerful and free FTP solution.
Important! Make sure that all files are uploaded successfully. If some files are not properly loaded, a message indicator should appear in your FTP program. If so, upload again these files only.
Alternative ways to upload and extract quickstart package
If your hosting provide some features like cPanel or SSH access you can use faster ways to upload and extract package. Once you are logged into cPanel click ‘File Manger’ (the file manager location will vary depending on which theme you are using).

Then from top menu choose option ‘Upload’ and select downloaded .zip file from your local hard disk, if everything goes right you should see a small uploading progress bar in bottom right of you browser.

When the upload process is completed all that you need is back to file list view, select just uploaded package and choose ‘Extract’ option from top menu. cPanel application should ask about place where you want to extract files – you can use root of your server or some subdirectory.

Another option is use SSH connection to unzip package. Archive file should be firstly upload via FTP connection or with mentioned cPanel but extract process can be run from terminal. To extract package you should run this command: ‘unzip package_name.zip’ where file_name.zip should be changed to upload package filename.
Prepare your Database
After all files are exported, you need to create a new database that will be used on the installation of your new Joomla! website. Thus, access the control panel provided by your host and create a new database.

With database created, assign a user account to this new database with full permissions control over this database.
The database is ready, so it’s time to initiate Quickstart installation.
Files Installation
Open your browser at the address/directory where you will perform the installation.
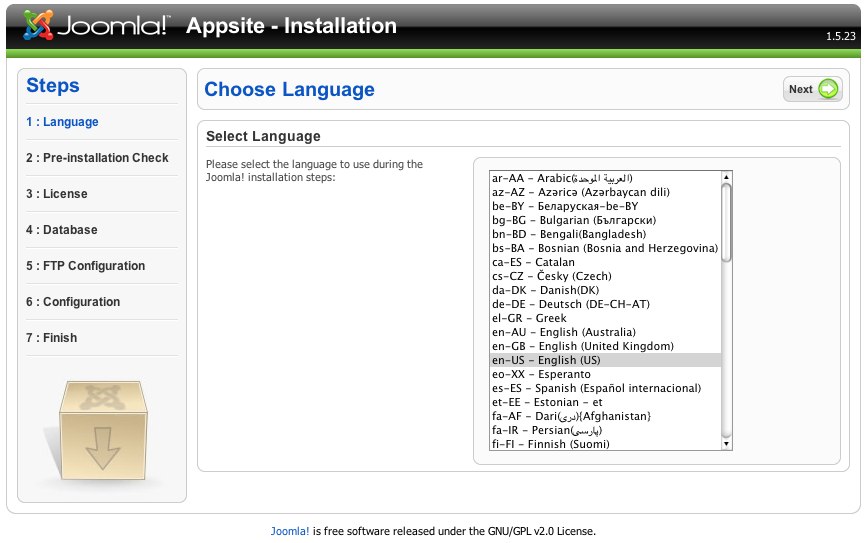
Language
On the first page, select the language you want to use in the installation process and press next.
Pre-installation Check
The second page will display information about your system and if it meets the minimum requirements for joomla! installation. If you find any setting market as red, take appropriate actions to correct these errors, or else Joomla! installation may not function properly.
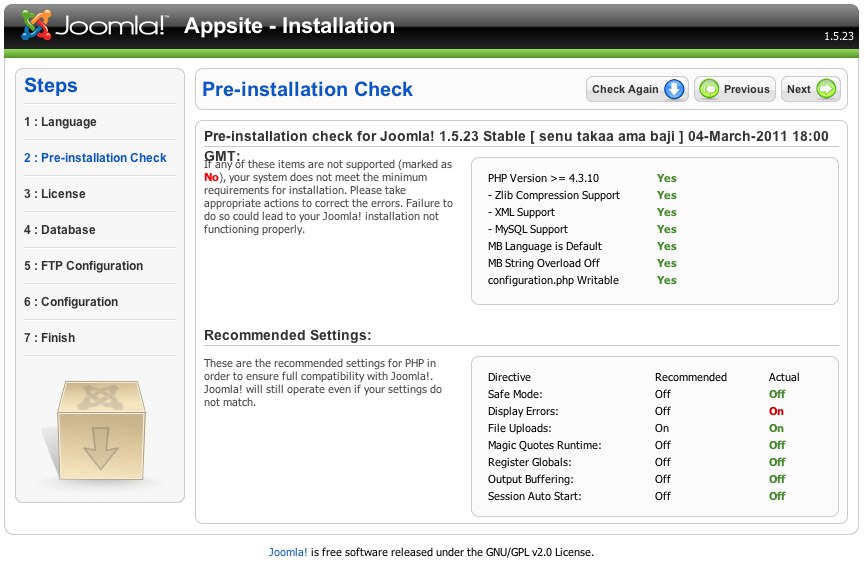
You will also find at the bottom of this page, information about the recommended settings for optimal performance and safety of Joomla!. These are recommendations, so it will still operate even if your settings do not match.
License
To continue normally through the rest of the installation, the third page will display the Terms of Use for Joomla! through GNU General Public License.
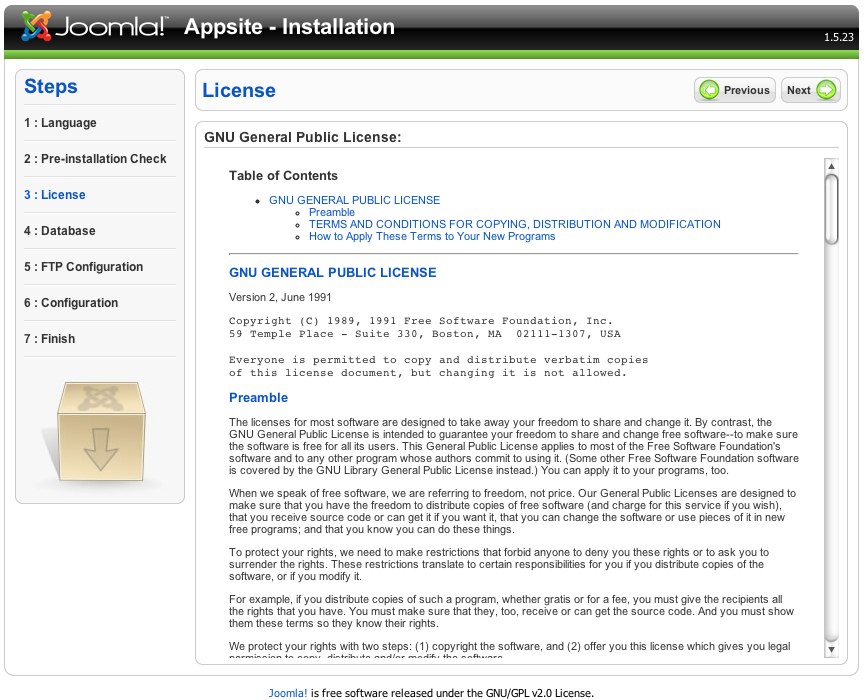
By proceeding to the next page, you automatically agree to all conditions presented.
Database Configuration
Select MySQL type of database from drop down list and enter the hostname of the database server Joomla! will be installed on (normally it’s “localhost”).
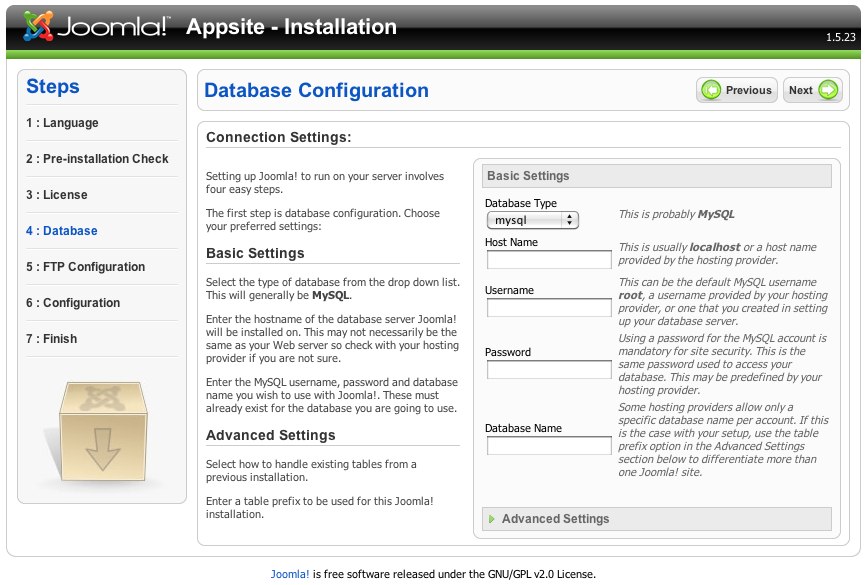
This may not necessarily be the same as your Web server, so check with your hosting provider if you are not sure.
Enter the MySQL username, password and database name that you previously created on your host control panel.
FTP Configuration
If you are installing on Linux and other Unix systems, the configuration of FTP layer is strongly recommend to ensure system file handling and also for security reasons. On the other hand, if you are installing on a Windows Operating System, the FTP layer is not required.
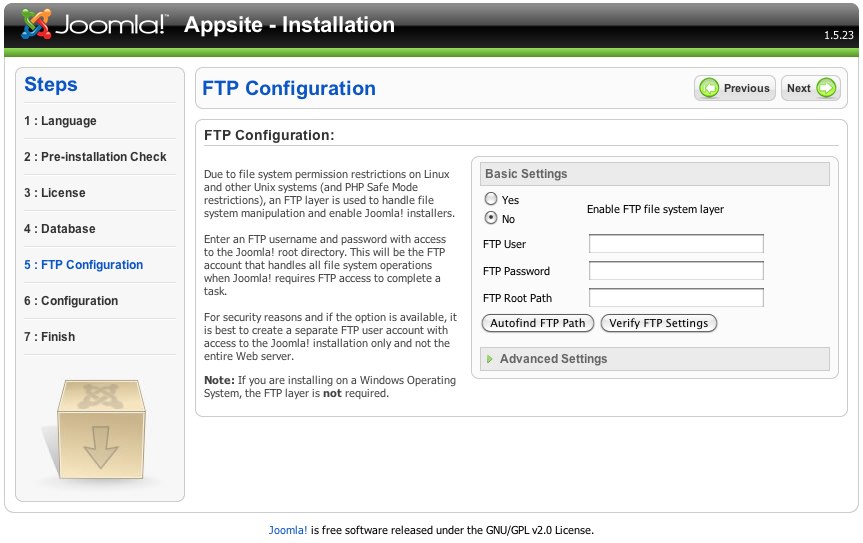
If you are not sure about FTP layer, step forward because you will be able to configure it after installation is done.
Main Configuration
If you were to perform a normal installation of Joomla, the website name, administrator e-mail and password would be configured on this page. However, you will find these fields purposely inaccessible. Remember, that this version is prepared by GavickPro.
So after the installation is complete, you can modify your data log without any problems.
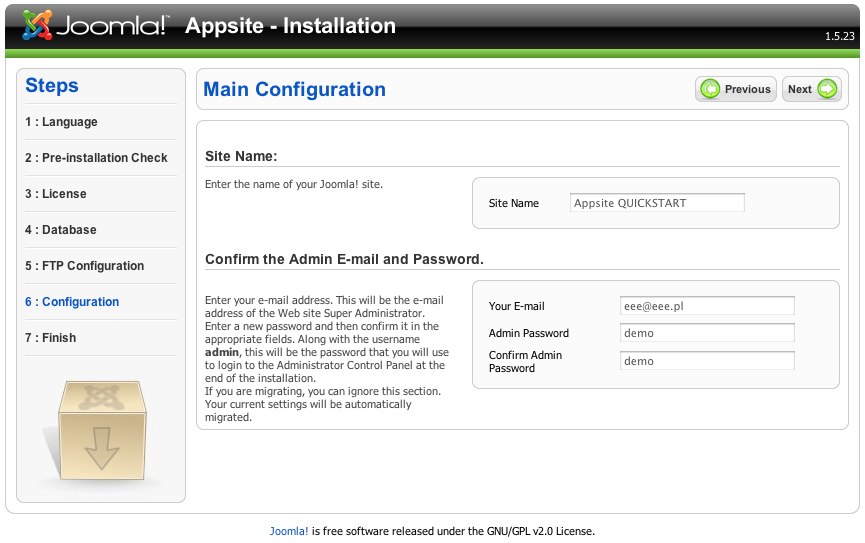
Press next to complete the installation.
End installation
Congratulations! The installation is successfully completed. However, before you enjoy your new website, you must rename or delete “installation” directory via FTP.
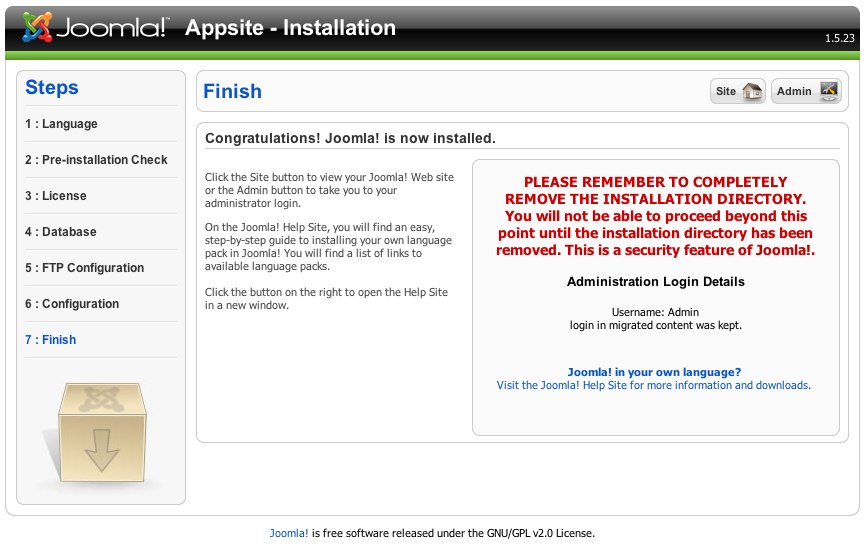
After performing this step, click “Site” button to visit the homepage of your website. You will find the new website fully operational and looking exactly like our demo.
Access administration of !Joomla
To access the administration of the new website, open your browser at: http://www.yourwebsite.com/administrator and use “admin” as username and “demo” as password (case sensitive).
After entering the administration, you can change the password or create a new super administrator with full permissions.
Additional step when Virtuemart Component is included
Only if you are installing a quickstart version that has integrated Virtuemart Component, in addition to all the previous steps, please access via FTP to the following file ../administrator/components/com_virtuemart/virtuemart.cfg.php and add URL or path on this lines.
// These path and url definitions here are based on the Joomla! Configuration
define ('URL','');
define ('SECUREURL','');
Add your URL or path to your website, like this example shows:
// These path and url definitions here are based on the Joomla! Configuration
define ('URL','http://www.yourwebsite.com/joomla/');
define ('SECUREURL','http://www.yourwebsite.com/joomla/');
This article was first published
