Importing demo content into a WordPress theme
This is part 3 of a 4-part guide to installing a theme and preparing it to match our live demo layout. Links to the other parts of this guide are provided at the end of this article
If you’re installing one of GavickPro’s themes in an existing WordPress installation then you won’t be able to use the quickstart package for easy install; instead, you’ll need to manually install and configure the various theme elements. If you’re aiming to match the demo layout exactly, it helps to have the sample content from the demo installed; it includes the posts, categories, media and menus from the demo content. This is especially useful if you’re going to be following the manual widget placement guide for a theme, as the widget configuration references the demo content.
Before starting the import process, we’ll need to ensure that the importer for WordPress content has been installed. To do so, follow these steps:
- Log-in to your WordPress backend and click on Tools>Import in the left menu. You will see a list of systems that can import posts into WordPress, such as Blogger, Blogroll etc…
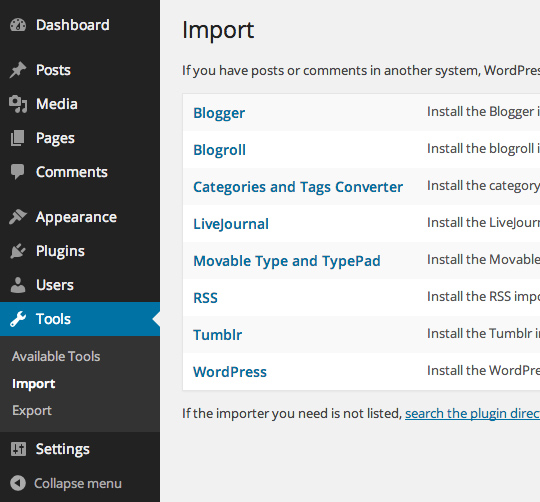
- Click on WordPress, as we are going to be importing posts and other content from the demo installation. This will open a pop-up that will allow you to install the WordPress Importer plugin.
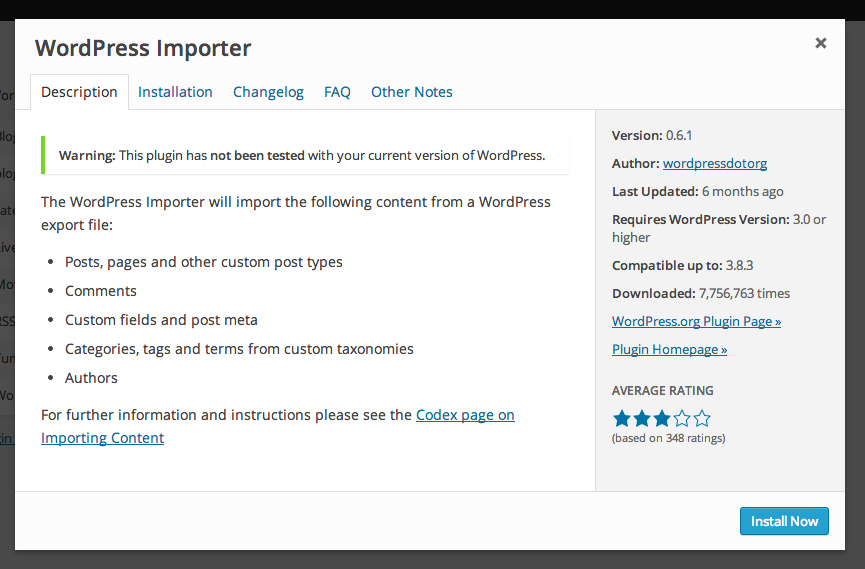
- Read through the description to see what things can be imported; posts, categories, comments, custom fields and more are included. Once ready, click on ‘Install Now’ at the bottom right of the pop-up.
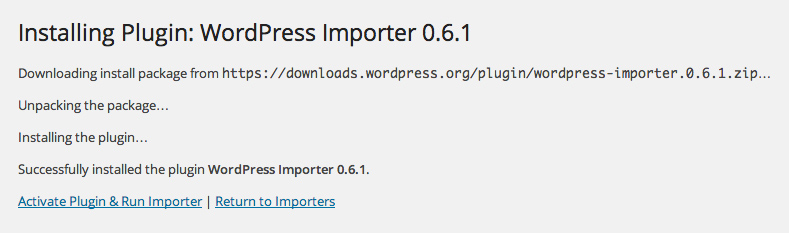
- WordPress will download and install the plugin package from the WordPress.org repository; once complete, you’ll be given the option of activating and opening the plugin, or returning to the list of importer options. Click on ‘Activate Plugin and Run Importer’.
The importer will open, and you will be able to choose an import file. Since we don’t have anything to import yet, you can leave things for now. Should you wish to open the importer later, just click on Tools>Import>WordPress.
Now we need to get the file that contains the sample data for import. Follow these steps:
- Download the XML file that contains the data to be imported by visiting this link. You will see a list of theme names, each linking to their respective XML file. Since the linked file is an XML file your browser will try to display it rather than downloading, so to download the file:
In Safari: Right or control-click on the link and select ‘Download linked file’. This will download a file called theme_name.xml, where “theme_name” is (wait for it…) the theme name.
In Chrome: Right-click on the link and select ‘Download link as…’. A dialogue box will open to specify where the download should be saved. The name will default to ‘theme_name.xml’, so just leave this as default and save the file.
In Firefox: Right-click on the link and select ‘Save link as…’. A dialogue box will open where you can specify the save location; as with the other browsers the name will default to “theme_name.xml” so leave this as it is.
- Log-in to your WordPress backend and open your WordPress importer (Tool>Import>WordPress).
- Click on ‘Choose file’ and select your newly-downloaded theme_name.xml.
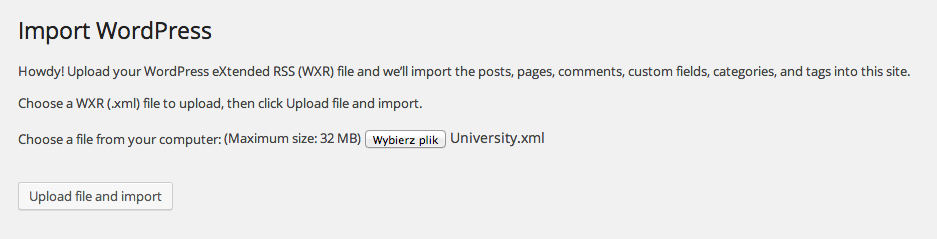
- Click ‘Upload file and import’. You will taken to the Import WordPress screen with two areas; Assign Authors and Import Attachments.
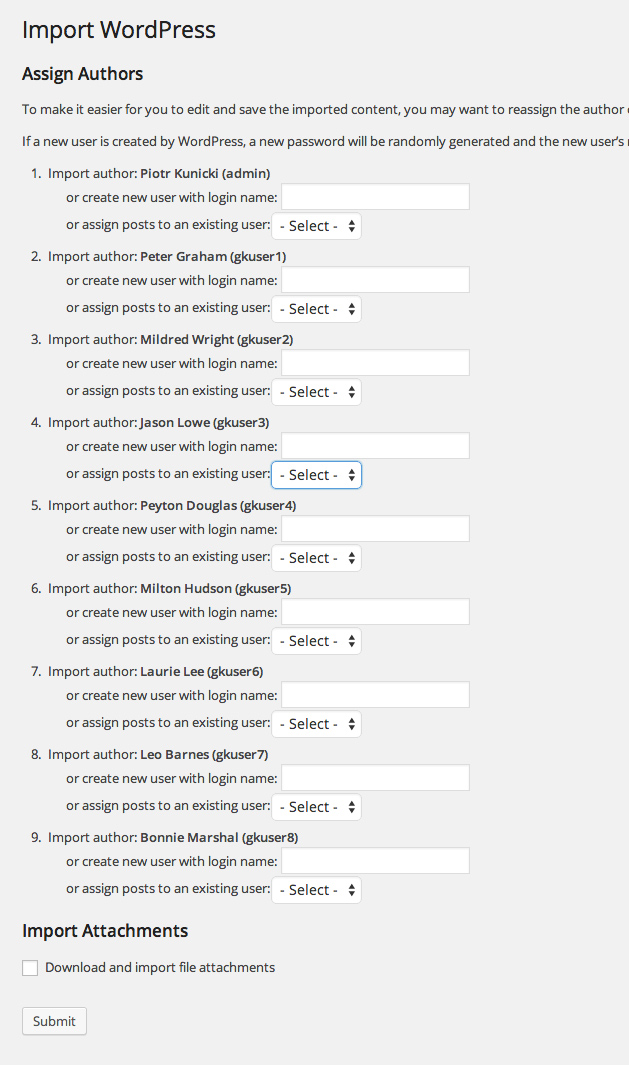
- The ‘Assign Authors’ area will let you import the username of the content creator to your WordPress installation, create a new author for the content to be attached to, or assign the content you are importing to an existing author in your WordPress installation. Depending on the type of theme content being imported there may only be one or two authors to import, or there may be as many as ten, especially if the theme includes BuddyPress as each demo user has its own content. One of the following options must be chosen for each user:
- If left blank: The original username will be added to your user list and the imported content assigned to him.
- If a name is entered in the ‘create new user with login name’ field: The name specified in the field will be used to create a new user, that will have the imported content assigned to it.
- If a user is selected from the ‘assign posts to an existing user’ drop-down box: The content will be imported and assigned to the existing user selected in the drop-down box.
If you have existing content you may find it useful to import the original users, as this will make it easier to locate and remove the demo content as you begin to customize the theme and implement your own content.
- Click the tick-box next to ‘Download and import file attachments’ to include media such as images from the posts in the import.
- Click the ‘Submit’ button to run the import process. After a few moments, you will receive a confirmation message to say that the process has finished.
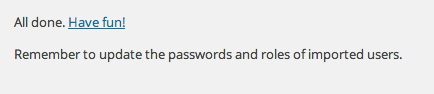
The demo content will now be available in your WordPress installation, and you can move on to installing and configuring the widgets to match the demo!
Manual install guide links
Manual install guide links
- Part 1 – Installing the basic theme package
- Part 2 – Installing the required plugins
- Part 3 – Importing demo content – You are here!
- Part 4 – Importing theme settings
This article was first published
