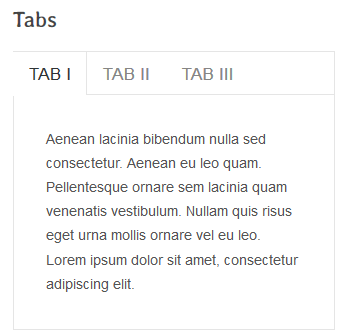
Display your WordPress widget content in tabbed areas with the GK Tabs plugin
GK Tabs – to simply organize your content in a nice and comfortable way, use our lightweight and responsive widget for WordPress that generates the tabs from the selected sidebar widgets. Using this plug-in is the easiest way to add a tabbed content area in your sidebar that will be shown to your visitors. Tabbed interfaces can save a lot of vertical space and make your website look less crowded.
How to install WordPress Tabs widget
- In your Admin, go to menu “Plugins” –> “Add New”
- Select the tab “Upload” (tab)
- Browse for the gk-tabs.zip package
- Upload the .zip file you just downloaded using the “Install Now” button.
- Activate the plugin through the ‘Plugins’ menu in your WordPress administration page.
Manual (FTP) installation
- Download the zip-archive and extract it into your computer.
- Upload the entire gk-tabs folder to the /wp-content/plugins/ directory.
- Activate the plugin through the ‘Plugins’ menu in your WordPress administration page.
How to use the GK Tabs widget
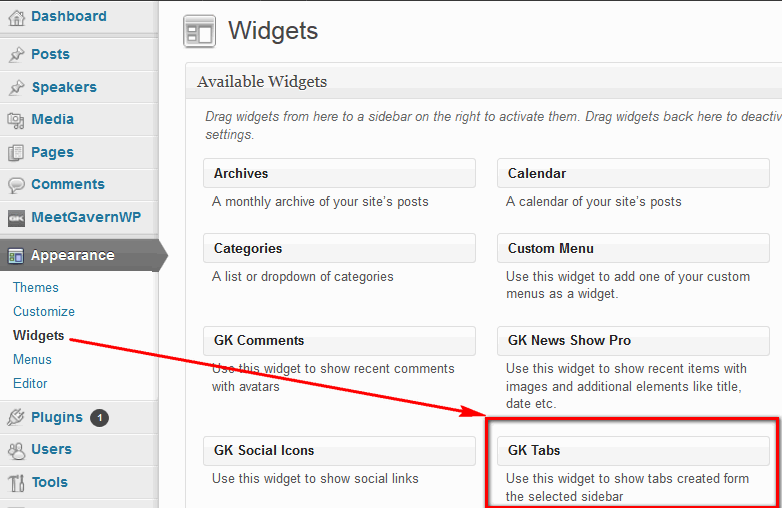
How to add widgets to GK Tabs
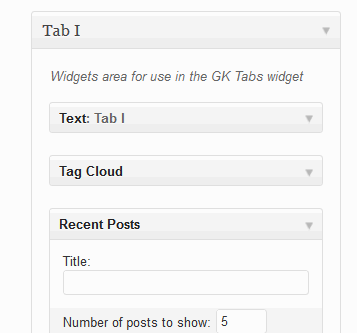
Just drag some of your existing widgets (eg. Text, Pages, Archives, etc.) on to the GK Tabs Widget Area.
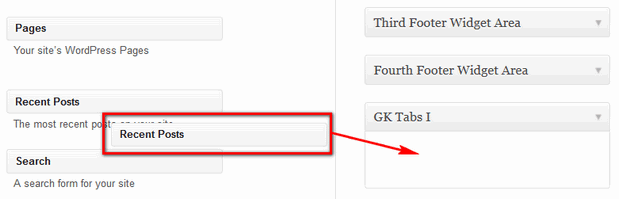
Use Drag& Drop to copy widgets into GK Tabs
Each Widget can be customized inside
Changing the order of widgets in the panel you change the order in our widget. Drag the GK Tabs Widget on to one of your sidebars (eg. Sidebar 1, Sidebar 2, etc.). You now have a tabbed area in your sidebar.
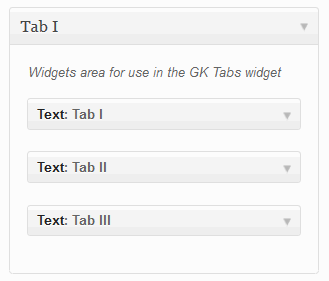
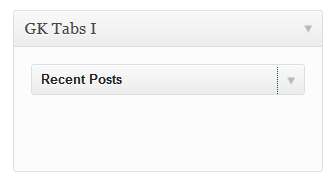
In each GK Tabs you can add few Widgets from list
Widgets you put in a position will be used as a source of data for the table – their titles will be used as the name of Tabs.
Configuration
The widget has fully configurable animations, interface and cache:
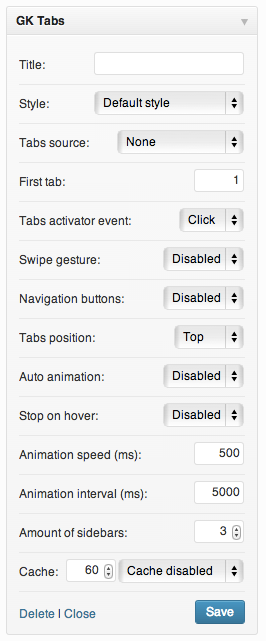
The first three options are connected with the widget layout and content:
- Title – widget title, we recommend that you leave this blank
- Style – list of the widget styles from the styles directory.
- Tabs source – a widget area which will be used as a tabs source.
The second part of the settings is connected with the tabs behaviours and layout:
- First tab – you can specify which tab will be displayed first. You can also specify it in the url – just use the gktab=X param in your URL where X is the number of the tab to display first.
- Tabs activator event – you can enable animation on hover or on click
- Swipe gesture – this is useful on mobile devices, but please remember – it is highly recommended to disable this feature when you intend to put other widgets that use touch gestures in the tabs’ content.
- Navigation buttons – you can enable the additional “prev/next” buttons on the widget edges.
- Tabs position – you can specify the position of tabs (top or bottom) in the widget layout.
The third part of settings is connected with the animation parameters:
- Auto animation – you can enable auto animation which will be triggered at the specified interval.
- Stop on hover – you can stop the auto-animation when the user’s cursor is over the widget.
- Animation speed – you can specify the transition animation speed (in miliseconds)
- Animation interval – you can specify the auto-animation intervals (in miliseconds)
And the last part of the settings is connected with more advanced settings.
- Amount of sidebars – you can specify how many “Tabs X” widget areas will be generated. The widget will use the highest value of this option from all instances.
- Cache – you can specify the cache time in minutes and type of cache – the cache can store the whole widget or only the tabs’ content.
For developers – custom styles
You can create your own CSS style for the widget following these easy steps:
- Duplicate one of the existing styles in the styles directory
- Rename the stylesheet file to your own name like my-style.css
- Change the file header used by WordPress File Header API – the name property should contain your style name which will be visible in the styles selector:
/*
 Name: My Style
 */
- Prefix all selectors with your style CSS class compatible with your stylesheet name in this case – .my-style
- Enjoy your new GK Tabs style 🙂
For developers – filters and actions
Available actions
- gk_tabs_before_tabs_wrapper – you can add some elements before the widget wrapper.
- gk_tabs_before_tabs_list – place for adding code before the tabs list.
- gk_tabs_after_tabs_list – place for adding code after the tabs list.
- gk_tabs_before_tabs – place for adding code before the tab.
- gk_tabs_after_tabs – place for adding code after the tab.
- gk_tabs_after_tabs_wrapper – place for adding code after the widget wrapper.
Available filters
- gk_tabs_tab_title – tabs titles, useful if you need to add additional elements inside the tab
- gk_tabs_tab_content – tabs content – useful if you need to filter the content of widgets displayed in the tabs.
- gk_tabs_prev_button – content inside the “previous” button.
- gk_tabs_next_button – content inside the “next” button.
This article was first published
