Get VirtueMart on your Joomla site with this install guide
VirtueMart (VM) may either be added to an existing Joomla! site, no matter what template you are using, or, because it is a part of our GK eCommerce packages, for example: inStyle, Shop & buy or StoreBox, it may be installed during the Gavick Quickstart installation – By the way, our News Show Pro GK5 module for Joomla! also supports Virtuemart.
Note: Remember that the template itself doesn’t include the VM component nor modules, but does include overrides styles for those extensions, fully-integrated into the template’s design. If you’re using a Quickstart from our eCommerce category you probably don’t need to install VM, because it is included with certain GavickPro templates to allow for easy integration with Joomla!.
How to install the VirtueMart package
The first step to setting up your online store is to obtain the VirtueMart installer package from a trusted source; either the VirtueMart site (virtuemart.net) or from the dev.virtuemart.net/projects/virtuemart/files site.

Trusted source of latest stable version of VM
The technical requirements for VirtueMart are consistent with the requirements for Joomla! But currently VM may not be installed on Joomla! 3.2 as it is not yet compatible with modern versions of this CMS.
To install the stable version of VirtueMart, follow these steps:
- Download the Complete Package (com_virtuemart.2.0.xx_extract_first.zip).
- Extract (unzip) the archive locally on your computer.
This will extract two more zip-files:
• com_virtuemart.2.0.x.zip – which holds the main VirtueMart component.
• com_virtuemart.2.0.x_ext_aio.zip – which holds all modules and plugins essential for VirtueMart. - Log in to the admin system of your Joomla! site.
- Click on the Extension Manager option, under the Extensions menu. Select the Install tab.
- Click the Browse button next to the Upload Package File field.
- Find and select the com_virtuemart_2.0.x.zip file. Click the Open button. The file upload dialogue closes and the name of the file appears in the field next to the Package File label.
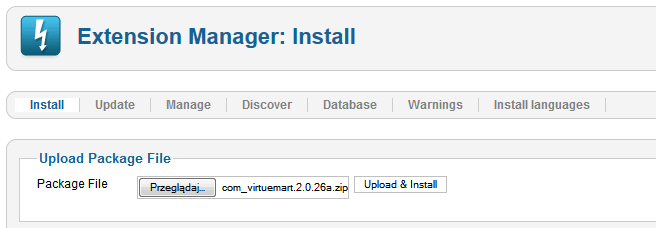
Step 1: installing VirtueMart component
- Click Upload & Install. The system will now install the component. If successful, you will see a confirmation message.
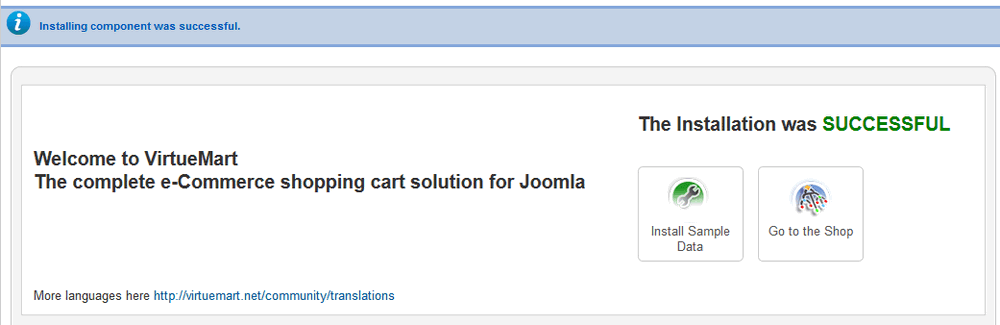
VirtueMart during installation gives you two options
VirtueMart gives you two options during the installation process. If you want to add the sample data (which include products, categories, etc.), click the Install Sample Data button, or else click the button labeled Go (Directly) to the Shop – to have an empty web store in which you can create your own product categories and add products of your own choosing to those categories.
The VirtueMart component is now fully-installed; however, you will also need to install the related & necessary extensions from the com_virtuemart.2.0.x_ext_aio.zip package.
How to install VirtueMart modules and plugins
Now you can install the component com_virtuemart.2.0.x_ext_aio.zip (aio = all-in-one) also via the Joomla! Extension Manager. This will install six free modules and plugins supplied by the Virtuemart Team all at once.
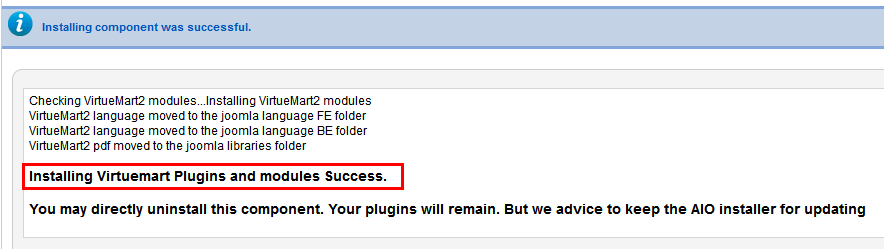
Installing Virtuemart Plugins and modules Success.
Enable all necessary VirtueMart extensions
- Access the Module Manager by selecting the Module Manager option under the Extensions menu. There (add and) enable all VirtueMart modules which you are planning to use.
- Access the Plugins Manager by selecting the Plug-in Manager option under the Extensions menu. Once there, enable all necessary VirtueMart Plugins (vmpayments and VirtueMart Product which allows for searching of the VirtueMart Component).
The installation process is now complete and you should be able to access all the features of VirtueMart. Once installed, you can configure the extension to handle multiple products and categories and support a wide range of shipping and payment options.
Your next step should be to create a link to your VirtueMart store front so users can get access to store offers.
Of course this installation does not include any modules and plugins from third-party developers – these are available from the JED directory.
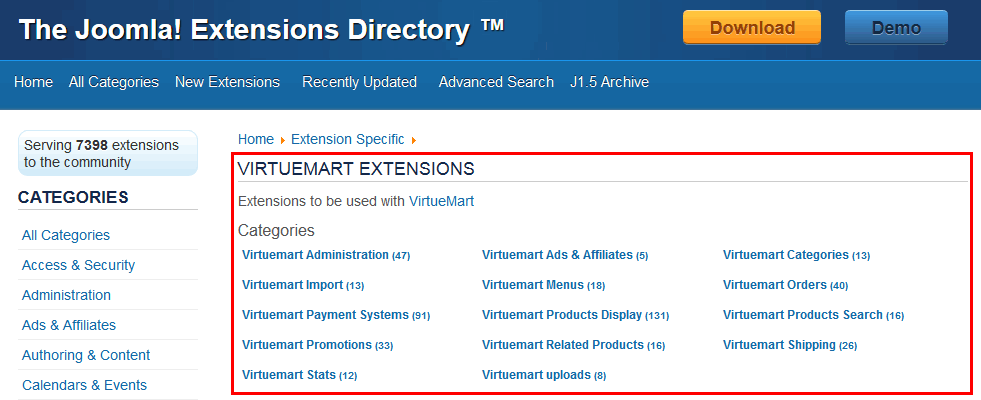
Joomla! Extensions Directory – category for Virtuemart only
This article was first published
